CDI 4 install pictoral

A pat on the back or just to let us know how we can improve our service.

Moderators: arun, chinoy

roughseas
Posts: 38
Joined: Mon Feb 19, 2007 2:28 pm
Location: Pune

CDI 4 install pictoral

Post by roughseas »

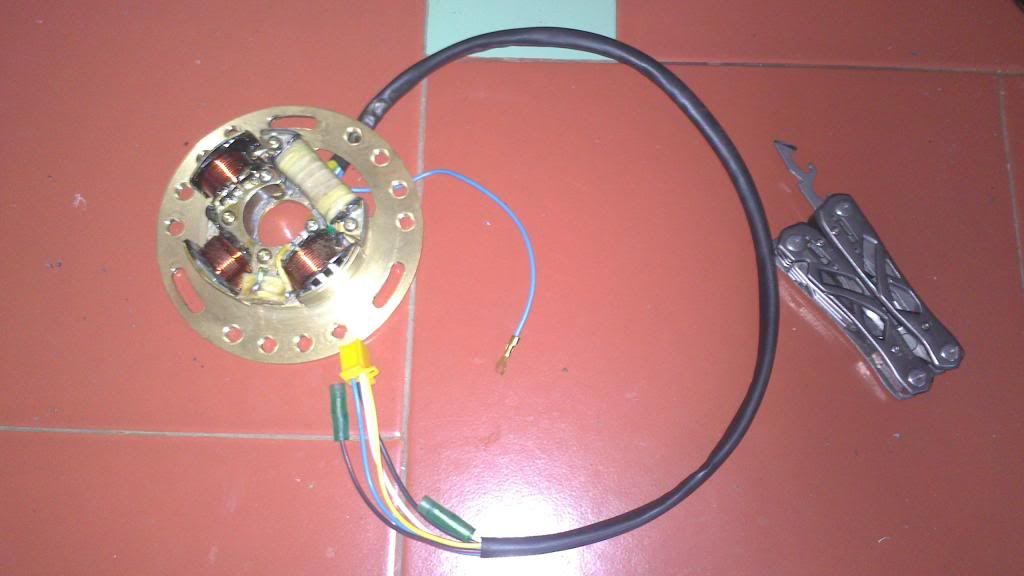
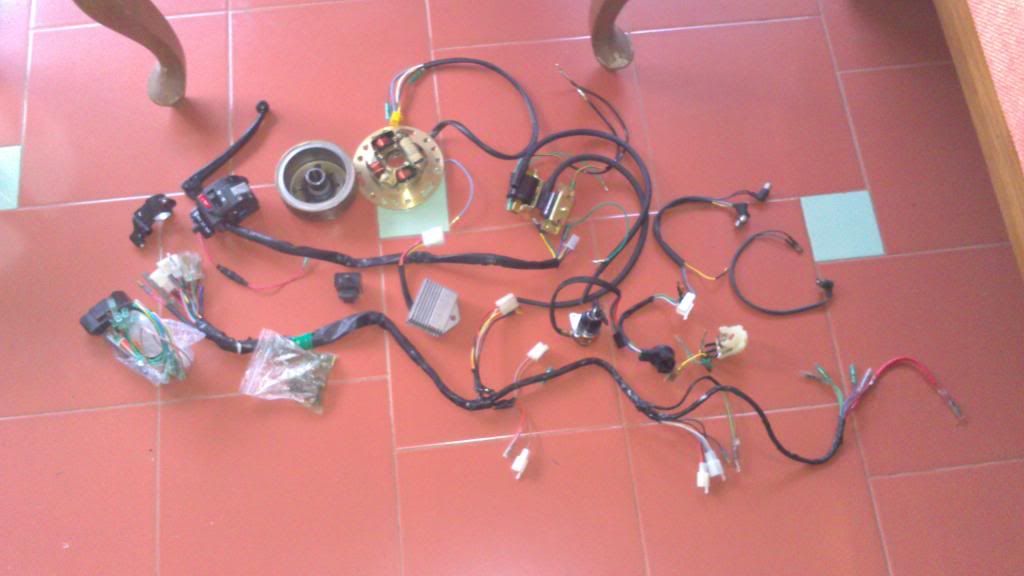
So this friend left his RD at my place for a ground up restoration, last month has been a PITA trying to source parts which look like they have had some kind of quality control! Anyway, the Chinoy CDI kit arrived a few days back, just in time after I got the motor in the frame. I had no clue what the kit would contain as my friend ordered it before we even decided that I would be doing his bike up. Was a nice surprise to see all the relevant parts there and some.

Image

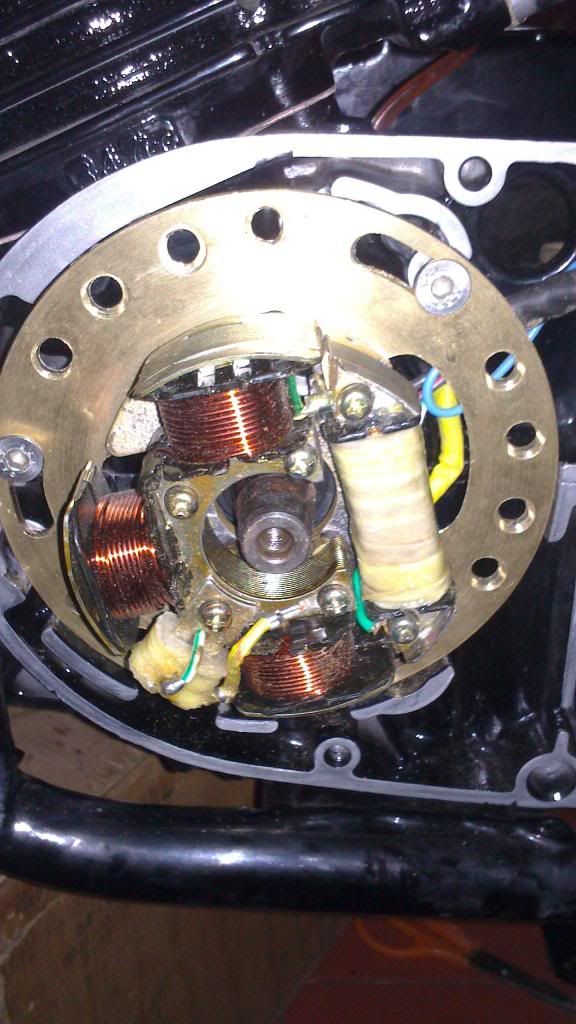
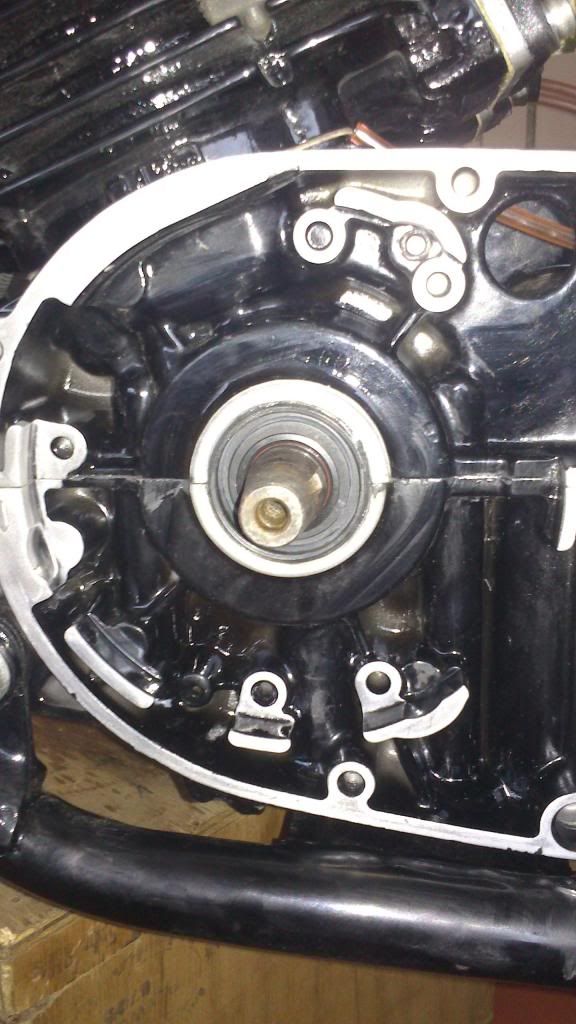
First step was to clean up the paint from the coil plate mounting surfaces
Image

Now what's missing?

Image

Ah a grommet! the treasure chest is got to have something [-o<
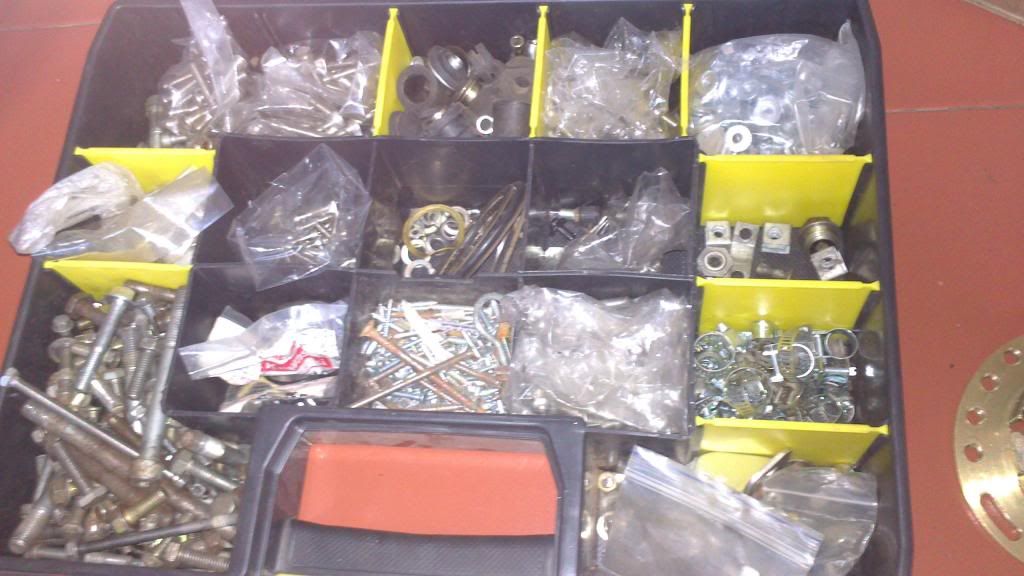
Image

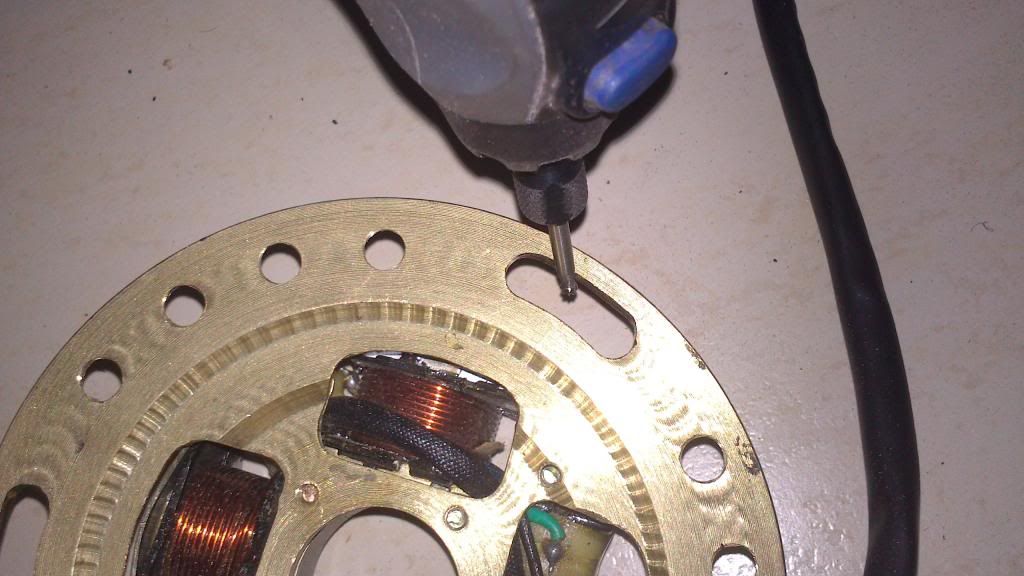
Image

The holes didn't line up, so had to file down slightly more than a mm and bevel the edges for the CS screws to sit properly without getting too close to the magneto

Image

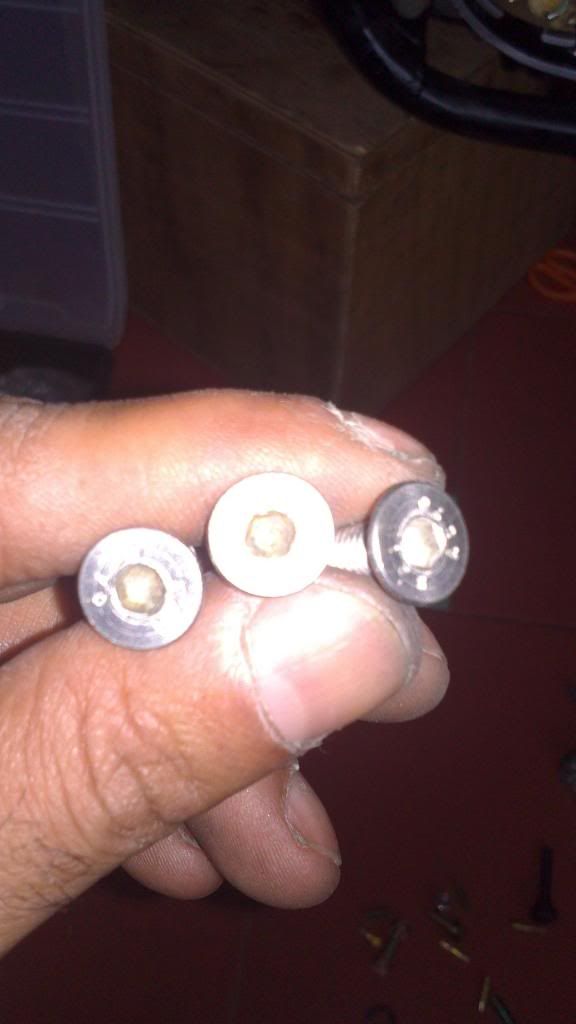
Image

I used CS allen head screws instead of the ones Chinoy sent, as I had loads left over from the gearbox side.
Image

All lined up

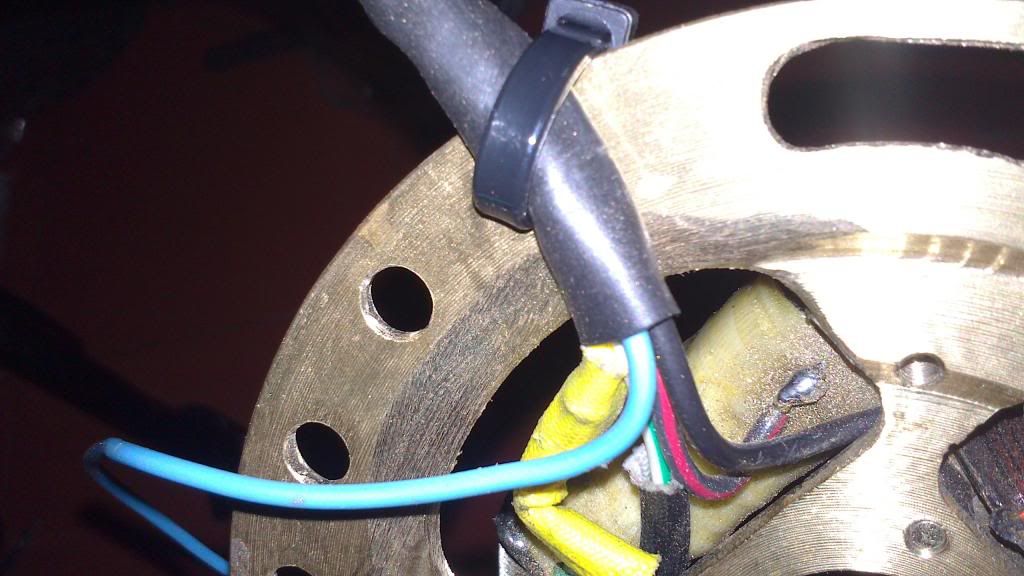
Image

I also sanded down a portion of the window where the wires were getting pinched with the crankcase.
Image

All done this side

Image

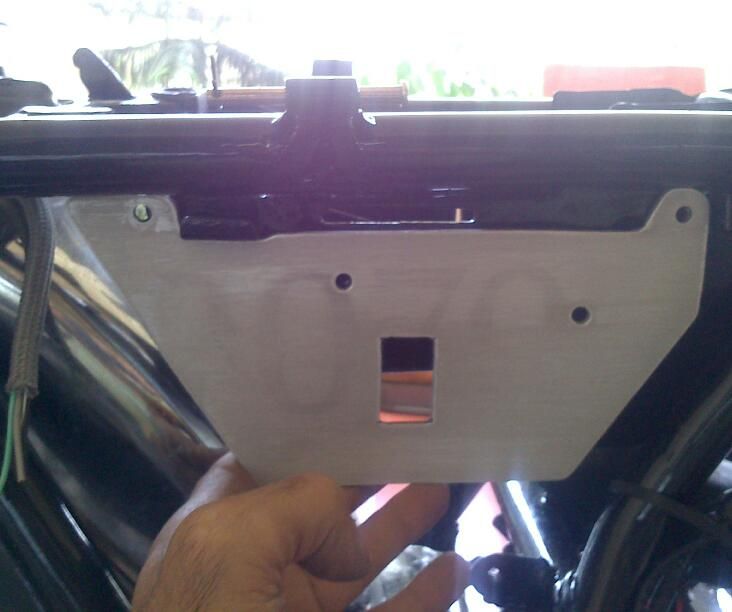
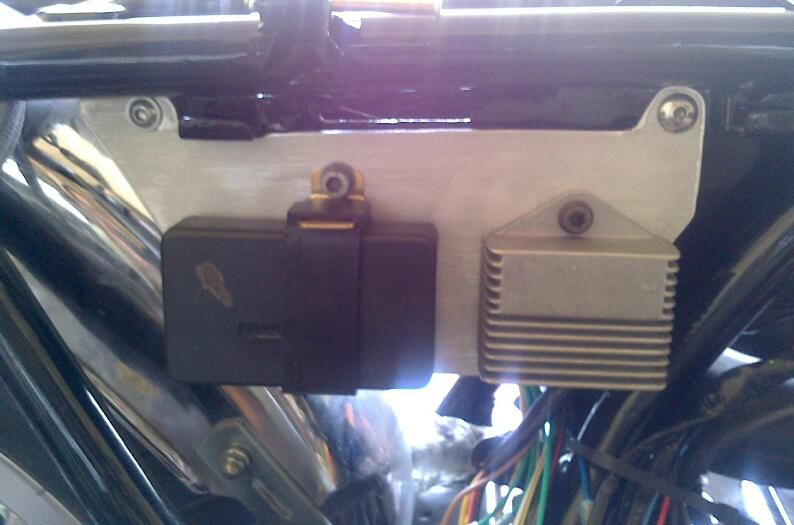
Next up a mounting plate for the RR and CDI, I had my cars old aluminum number plate waiting to be butchered
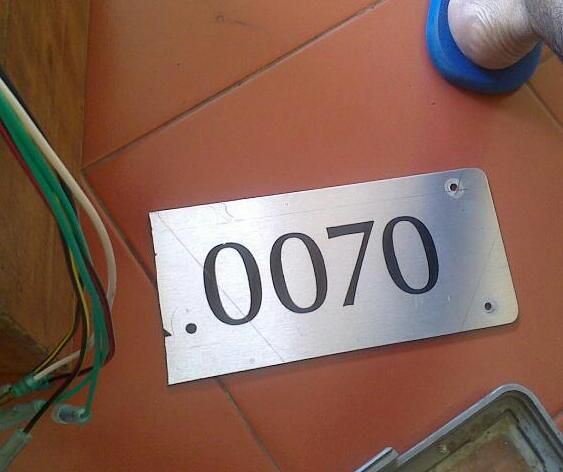
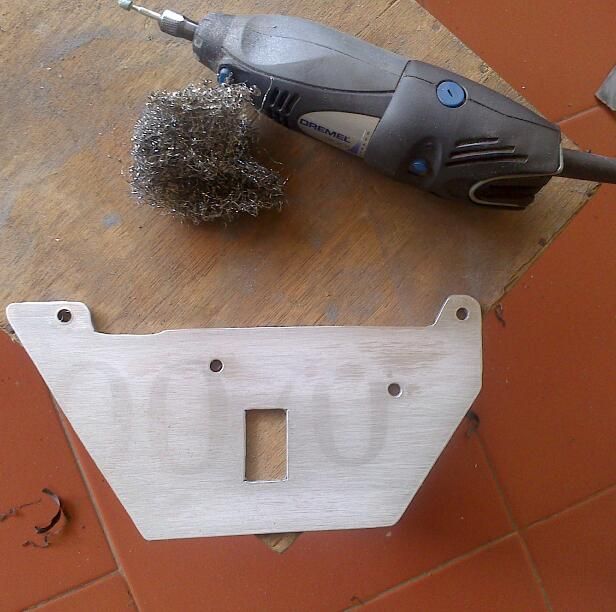
Image

Image

Image

Image

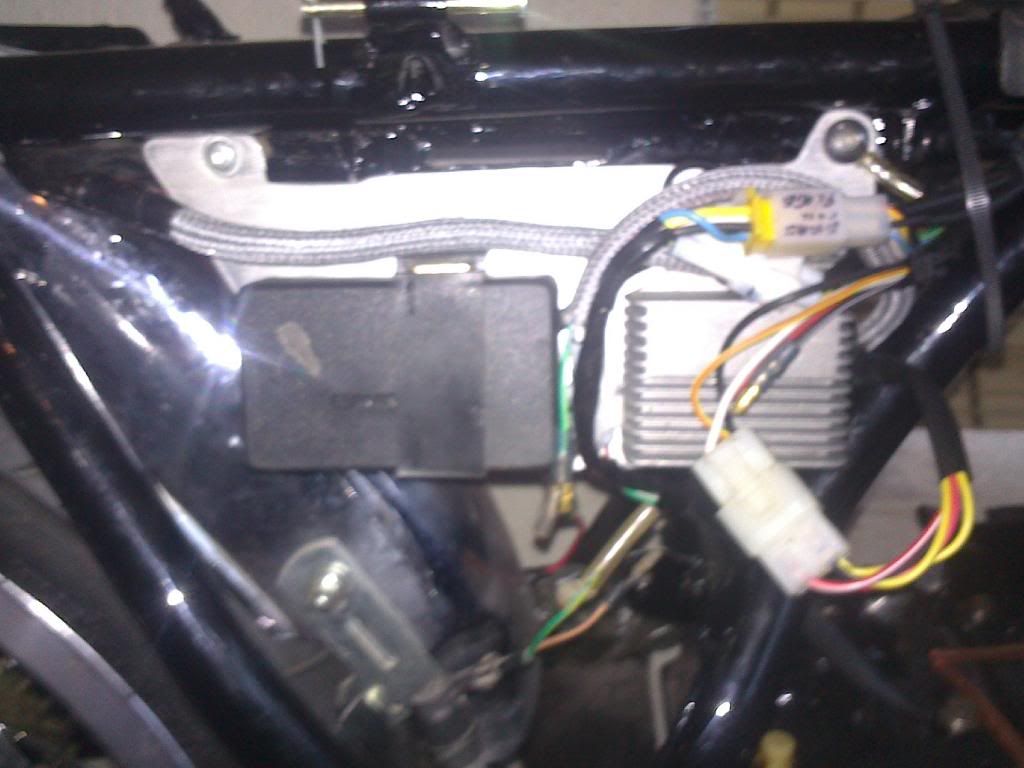
Added a few water resistant connectors to the CDI and the HT coils
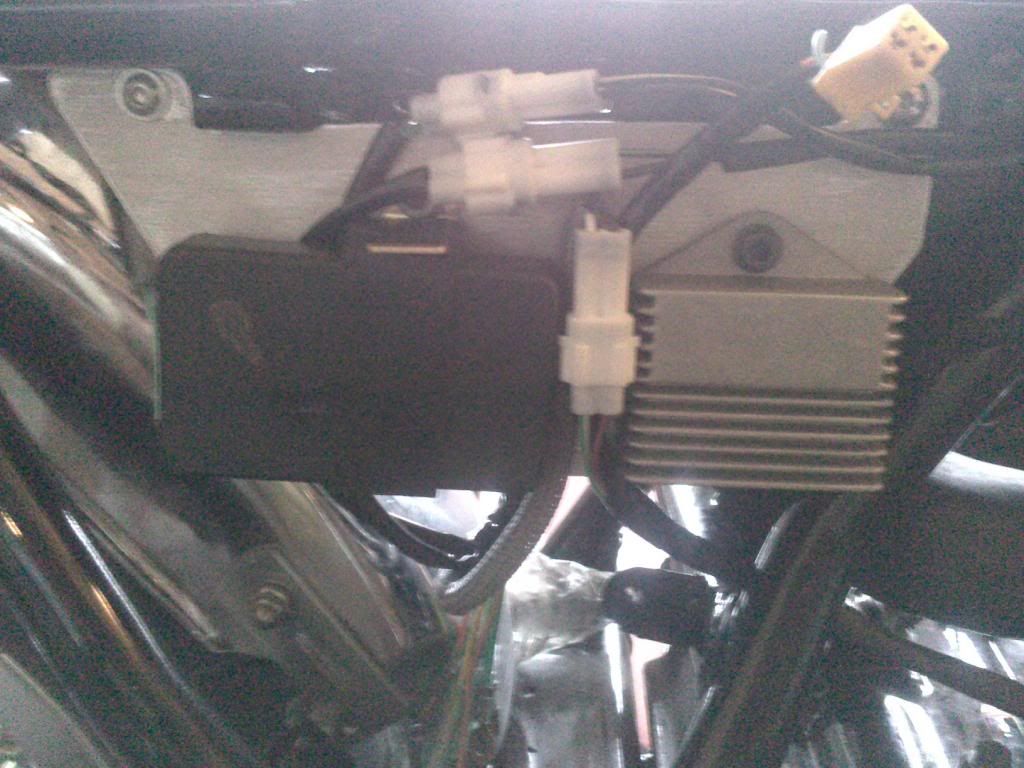
Image

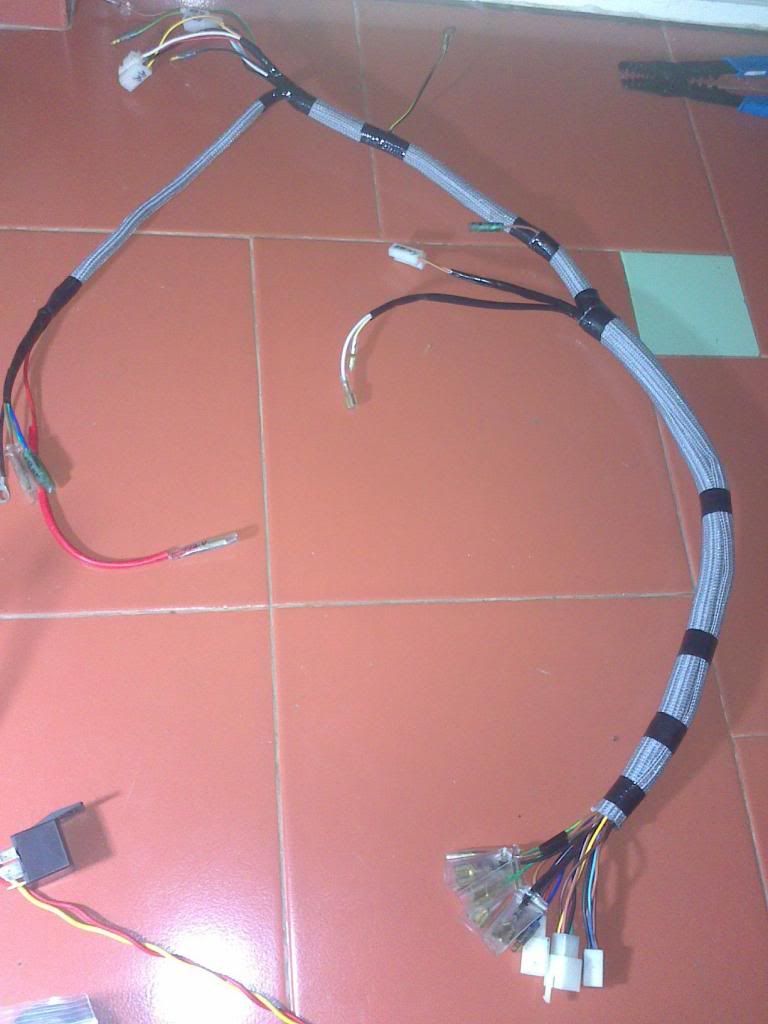
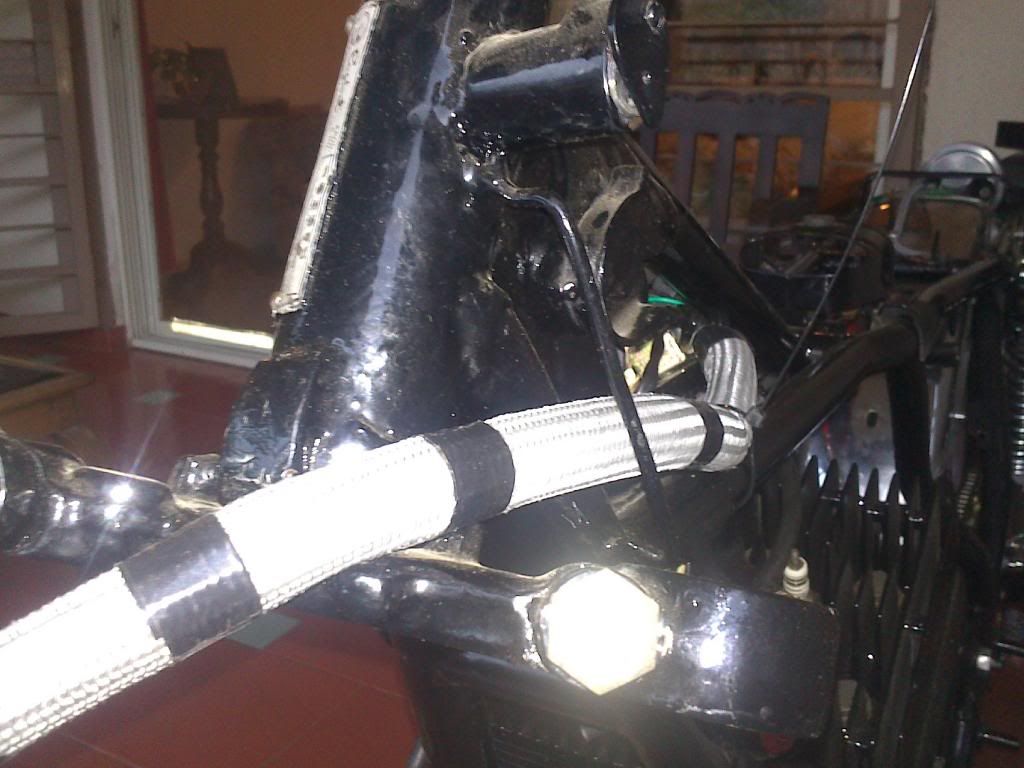
Cleaned the harness

Image

Image

Added a small extension to the tail light out to run the meter lights
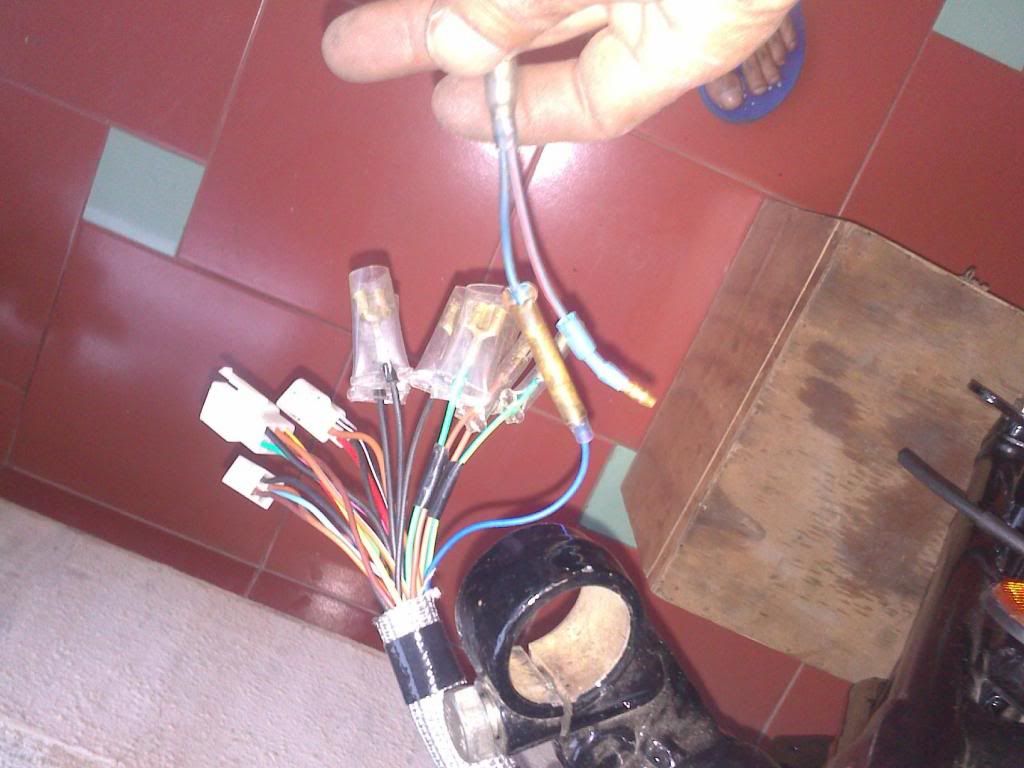
](*,) Photo-bucket acting up!
roughseas
Posts: 38
Joined: Mon Feb 19, 2007 2:28 pm
Location: Pune

Re: CDI 4 install pictoral

Post by roughseas »

Image

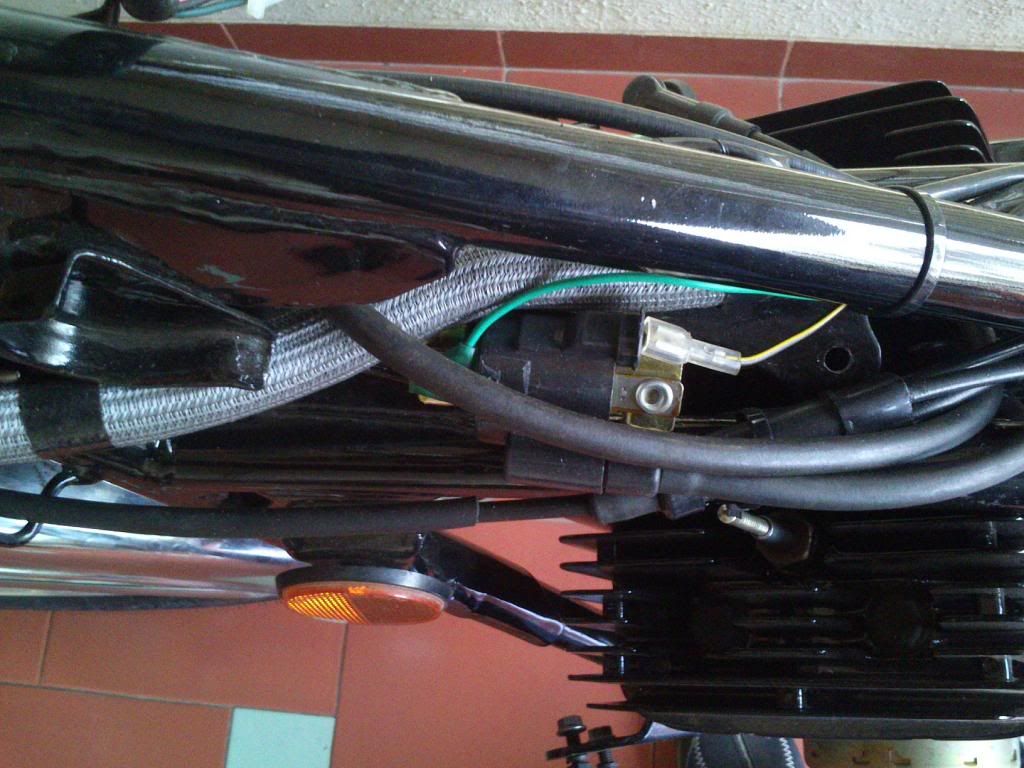
I wanted to leave the left side clear for all the cables so mounted both the HT coils on the right

Image

Image

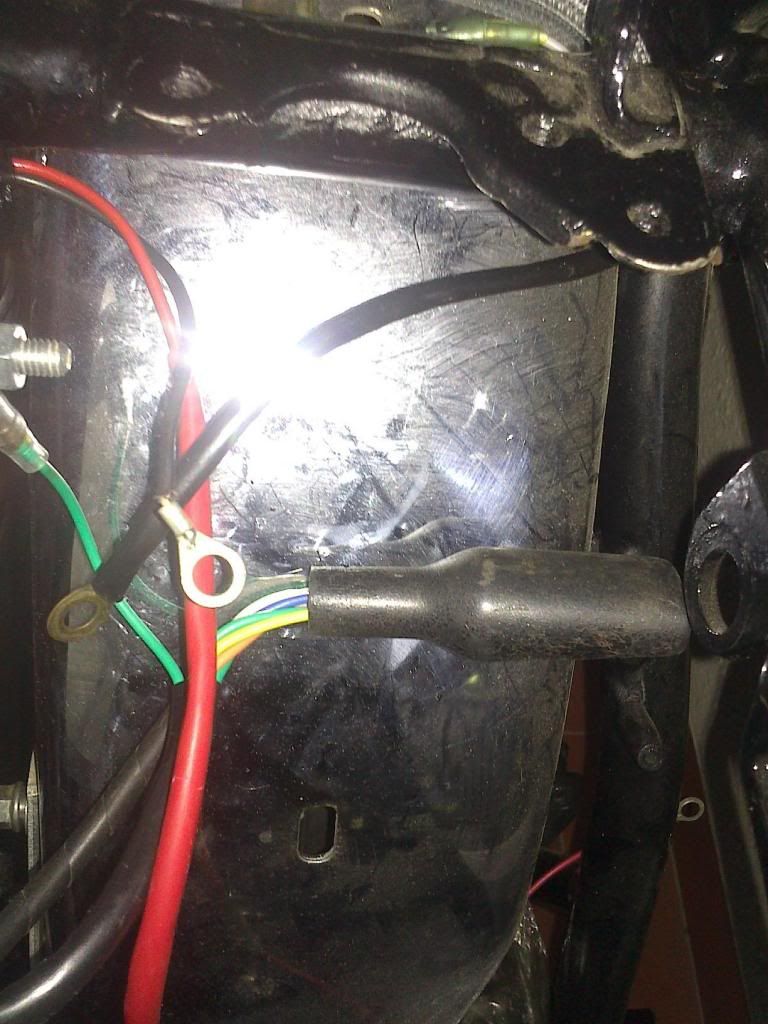
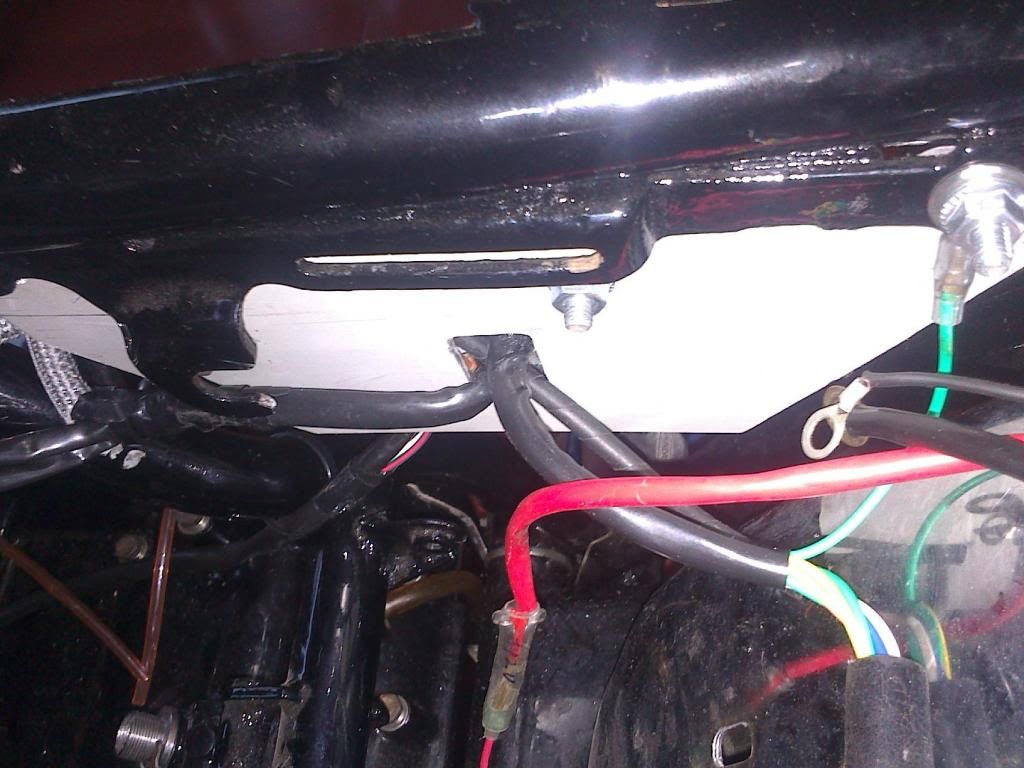
The option plugs all get a cozy rubber boot

Image

and the CPU power gets a Hi temp sheath

Image

Now I am hoping all this fits under the side cover which is still in the paint shop

Image
dafc
High School
Posts: 353
Joined: Mon Nov 01, 2010 7:42 am
Location: Patiala Punjab

Re: CDI 4 install pictoral

Post by dafc »

ace job!
ajithk
RDD Junkie
Posts: 2815
Joined: Tue Jul 01, 2003 3:00 pm
Location: Bangalore, India

Re: CDI 4 install pictoral

Post by ajithk »

Sweet work. Looks like a nice café racer in the making. We need finished pics too! :-)
User avatar
crazydiablo
RDD Junkie
Posts: 6076
Joined: Fri Jul 18, 2003 11:04 am
Location: Bangalore

Re: CDI 4 install pictoral

Post by crazydiablo »

Thats probably the cleanest install I have seen. Can this be a sticky please?
User avatar
chinoy
RDD Junkie
Posts: 34409
Joined: Tue Mar 05, 2002 1:50 pm
Location: Bangalore
Contact:

Re: CDI 4 install pictoral

Post by chinoy »

Just some inputs.
1. You have the plate set to max advance. Loosen those screws. And rotate the plate full anti clock wise in the slots.
This is the recommended setting to start timing with.

2. The normal way to mount the HT coils and get the tank on. Is to mount them on the first bolt of the HT coil bracket.
With the coils flipped. i.e. one lead facing forward and the other facing backwards.
This is just in case you figure the HT coils are not fitting under the tank. We get a lot of calls on this issue. And Ive found my way is the only way they all fit under the tank. But if you've squeezed it in ignore this part.

3. Grounding is critical. So ensure metal to metal contact off everything i.e. if that plate you added is rubber mounted you could have issues.
Poor grounding is a big issue on re-painted bikes. So keep an eye out for that.

When you time the bike shoot for at least 24 Deg. Try higher values. i.e. 28 and use what the bike runs best with.

4. Im not too keen on the water proof connectors. We implemented those identical connectors in version 2.0 or was it 3.0 of the CDI kits.
We removed them really fast. And went back to the bullet connectors. The problem is the size of the pins and the surface area and the voltages involved.
So just keep that in mind. Im not saying it wont work. But if you run into issue. Revert back to the bullet connectors.

5. Tip for the Ign s/w. Is keep your original shell. Just swap out the base from the new s/w into your old s/w.
User avatar
tanvirgill
High School
Posts: 268
Joined: Fri Sep 10, 2004 6:10 pm
Location: Patiala

Re: CDI 4 install pictoral

Post by tanvirgill »

Nice elaborative pictorial guide. Great help for customers, esp outstation ones.

@Chinoy-Tip number 5-I shall try.
User avatar
roshiba777
RDD Junkie
Posts: 1201
Joined: Sat Jun 27, 2009 10:24 pm
Location: Khanna (PUNJAB)
Contact:

Re: CDI 4 install pictoral

Post by roshiba777 »

Nice Job..
roughseas
Posts: 38
Joined: Mon Feb 19, 2007 2:28 pm
Location: Pune

Re: CDI 4 install pictoral

Post by roughseas »

Thanks for the comments guys. Pointers taken Chinoy :), hope it all fits in! I've made sure about a good earth at all points, including the plate I fabricated. Wont be timing it anytime soon as got to source a US spec front axle and speedo drive and bleed the brakes before I can roll it down from my 3rd floor balcony :D.
roughseas
Posts: 38
Joined: Mon Feb 19, 2007 2:28 pm
Location: Pune

Re: CDI 4 install pictoral

Post by roughseas »

Synced the carbs today

[yt]O0eniXkDCJI[/yt]
User avatar
tanvirgill
High School
Posts: 268
Joined: Fri Sep 10, 2004 6:10 pm
Location: Patiala

Re: CDI 4 install pictoral

Post by tanvirgill »

roughseas
Posts: 38
Joined: Mon Feb 19, 2007 2:28 pm
Location: Pune

Re: CDI 4 install pictoral

Post by roughseas »

Thanks!!
roughseas
Posts: 38
Joined: Mon Feb 19, 2007 2:28 pm
Location: Pune

Re: CDI 4 install pictoral

Post by roughseas »

The good news first...

Image

The CDI & VR and all the connectors fit under the side cover without a problem.

Now the bad...

Image

Image

Like Chinoy said, the HT coils need to mounted on the forward holes, one on each side or they rub against the tank. I have mounted them so that the HT wires are on the outside, that way I don't risk a short with the tank body.

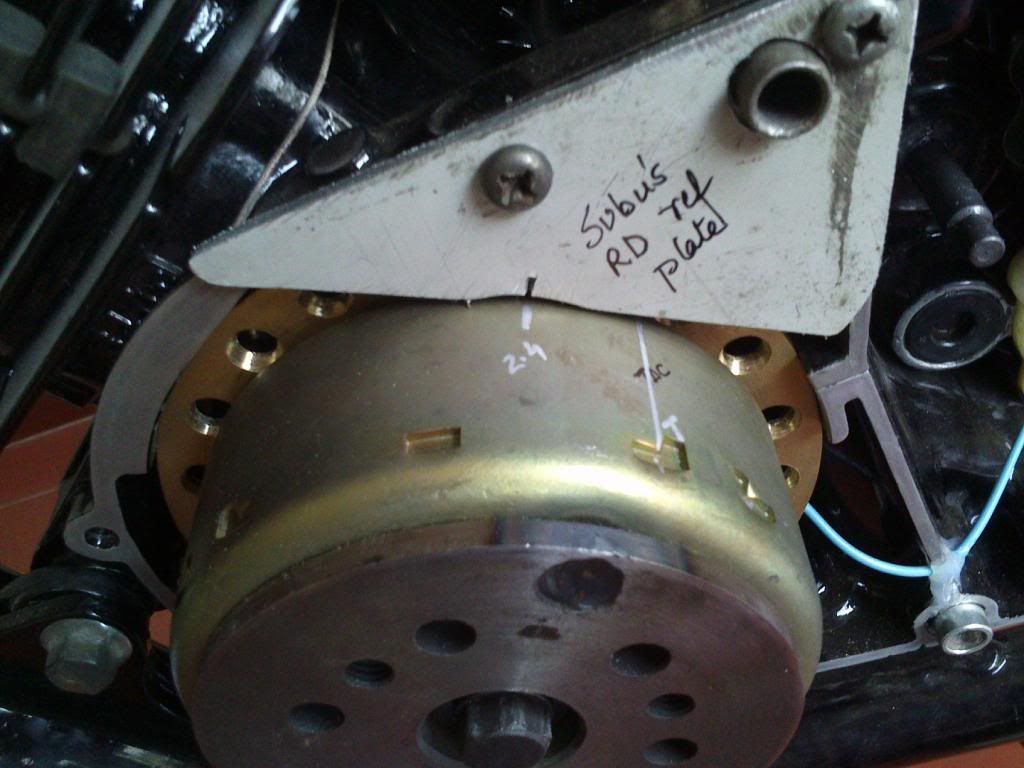
Next up was a little plate for when I start timing, I wanted this as close to the magneto as possible to remove any parallax errors, for now I am using a makeshift height gauge, will make permanent markings once I get my dial gauge.

Image

Image

Another days job and should be firing the engine up.

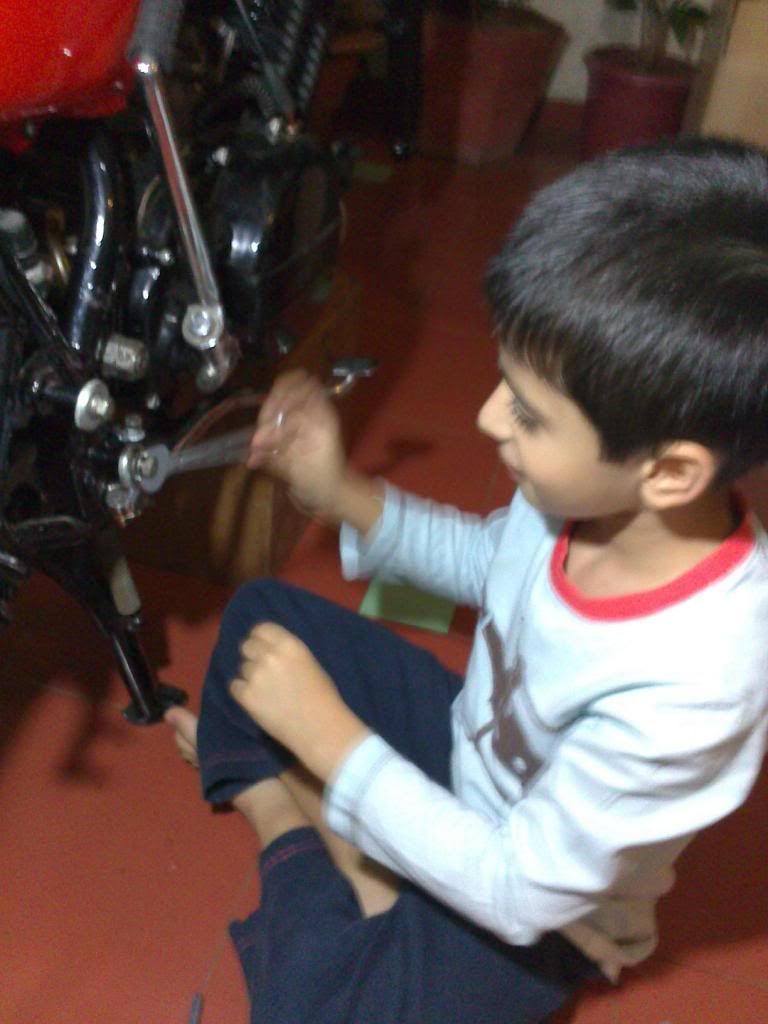
Here is my help :)

Image

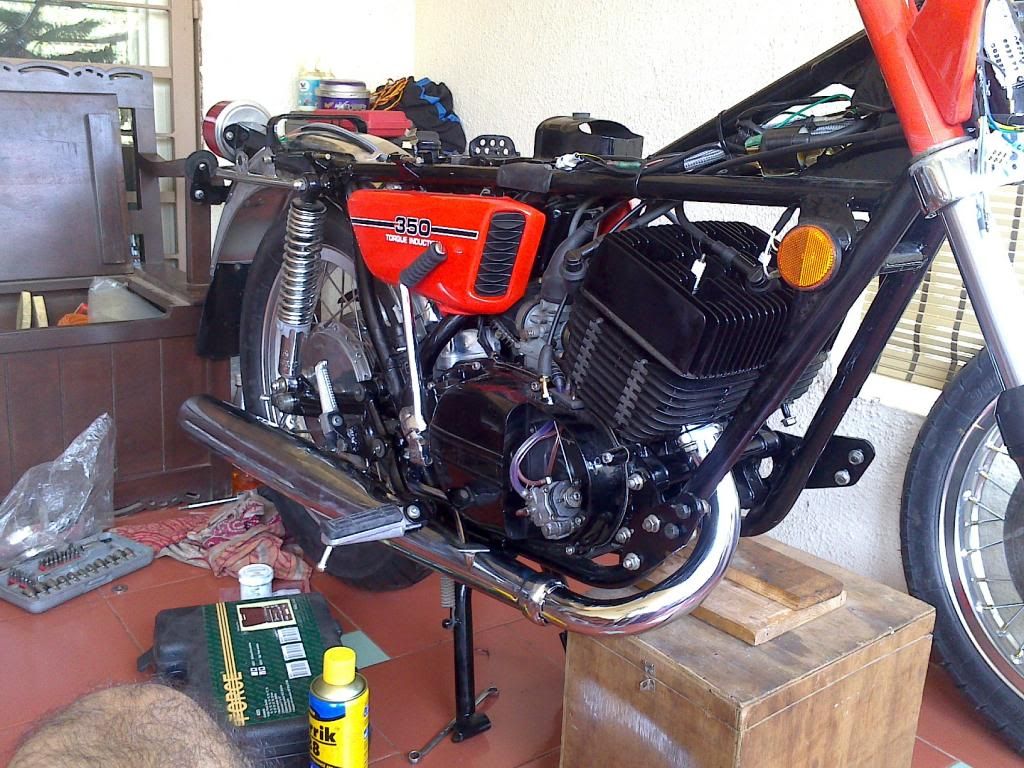
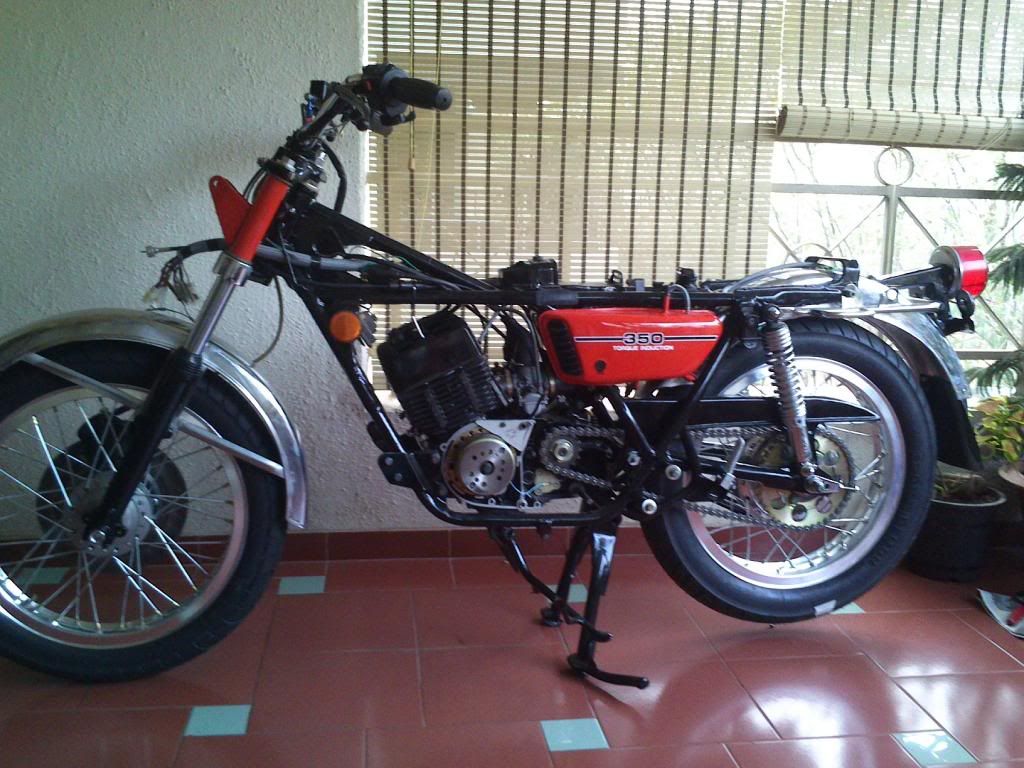
and the project as it stands...

Image
User avatar
tanvirgill
High School
Posts: 268
Joined: Fri Sep 10, 2004 6:10 pm
Location: Patiala

Re: CDI 4 install pictoral

Post by tanvirgill »

Rims look good, so does the foot rests!
User avatar
rash
RDD Junkie
Posts: 3000
Joined: Tue Apr 29, 2003 11:56 pm
Location: Cupertino,CA

Re: CDI 4 install pictoral

Post by rash »

Hey Roughseas,

What part of Pune are you from? We have a bunch of RDD old timers in Pune who can help you with anything RD related.
BTW, have to say, cleanest install I've seen. You seem to be quite the perfectionist!

Welcome to RDD.
simaord
Posts: 92
Joined: Thu Jul 08, 2010 9:50 am

Re: CDI 4 install pictoral

Post by simaord »

good job rough seas, a step to step pics of CDI installation =D>
are you having SS spokes on your wheels , Just have a question are wide liped A rims ok for our Indian roads ?
User avatar
chinoy
RDD Junkie
Posts: 34409
Joined: Tue Mar 05, 2002 1:50 pm
Location: Bangalore
Contact:

Re: CDI 4 install pictoral

Post by chinoy »

LOL I can just imagine you firing that up on the 3rd floor balcony.

@Gill if it aint broke dont touch it.

Nice clean looking bike. Good job on the install.
arvindraju
Posts: 71
Joined: Mon May 18, 2009 1:04 pm
Location: Bangalore

Re: CDI 4 install pictoral

Post by arvindraju »

clean work !
roughseas
Posts: 38
Joined: Mon Feb 19, 2007 2:28 pm
Location: Pune

Re: CDI 4 install pictoral

Post by roughseas »

Thanks for all the comments guys! Finally got it down to the parking today after a lot of cursing as the stairs had just been mopped by an over enthusiastic maid :evil: Forgot to tighten the oil drain plug before filling in the oil and more 'maa' 'behen' galis followed :p

I'll try and click a video tomorrow while I do the timing, got to get some more 2T as I forgot to save some for the little bottle I was going to hook up to the carbs. That and the seat and I am done....balcony looks empty now 8)
roughseas
Posts: 38
Joined: Mon Feb 19, 2007 2:28 pm
Location: Pune

Re: CDI 4 install pictoral

Post by roughseas »

@ Simaord.. the spokes are normal nickel for the front wheel and chrome for the rear, I don't know from which bike as the spokes I bought for the RD all went waste as wasn't planning to install the US spec front end. The rims should hold up fine, I don't see a problem. Having said that the H-section aluminum rims are not as hardy as the normal profile, whatever its called.

RDD junkie.. I am at NIBM
Post Reply